Home
About
Imprint
Writing
Books
Magazines
Websites
Interviews
Marketing
Publicity
Exhibitions & Events
Branding
Blog
Picture 3
« Return to
Picture 3
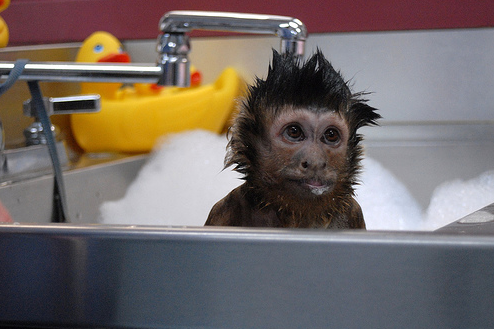
Photograph courtesy of Helping Hands